Paying a Vendor Bill
Once a bill is posted, you can register a payment (disbursement) to settle it. This guide covers the standard workflow where you pay an existing bill.
Open the Posted Bill
Navigate to Vendors > Bills and open the bill you want to pay:
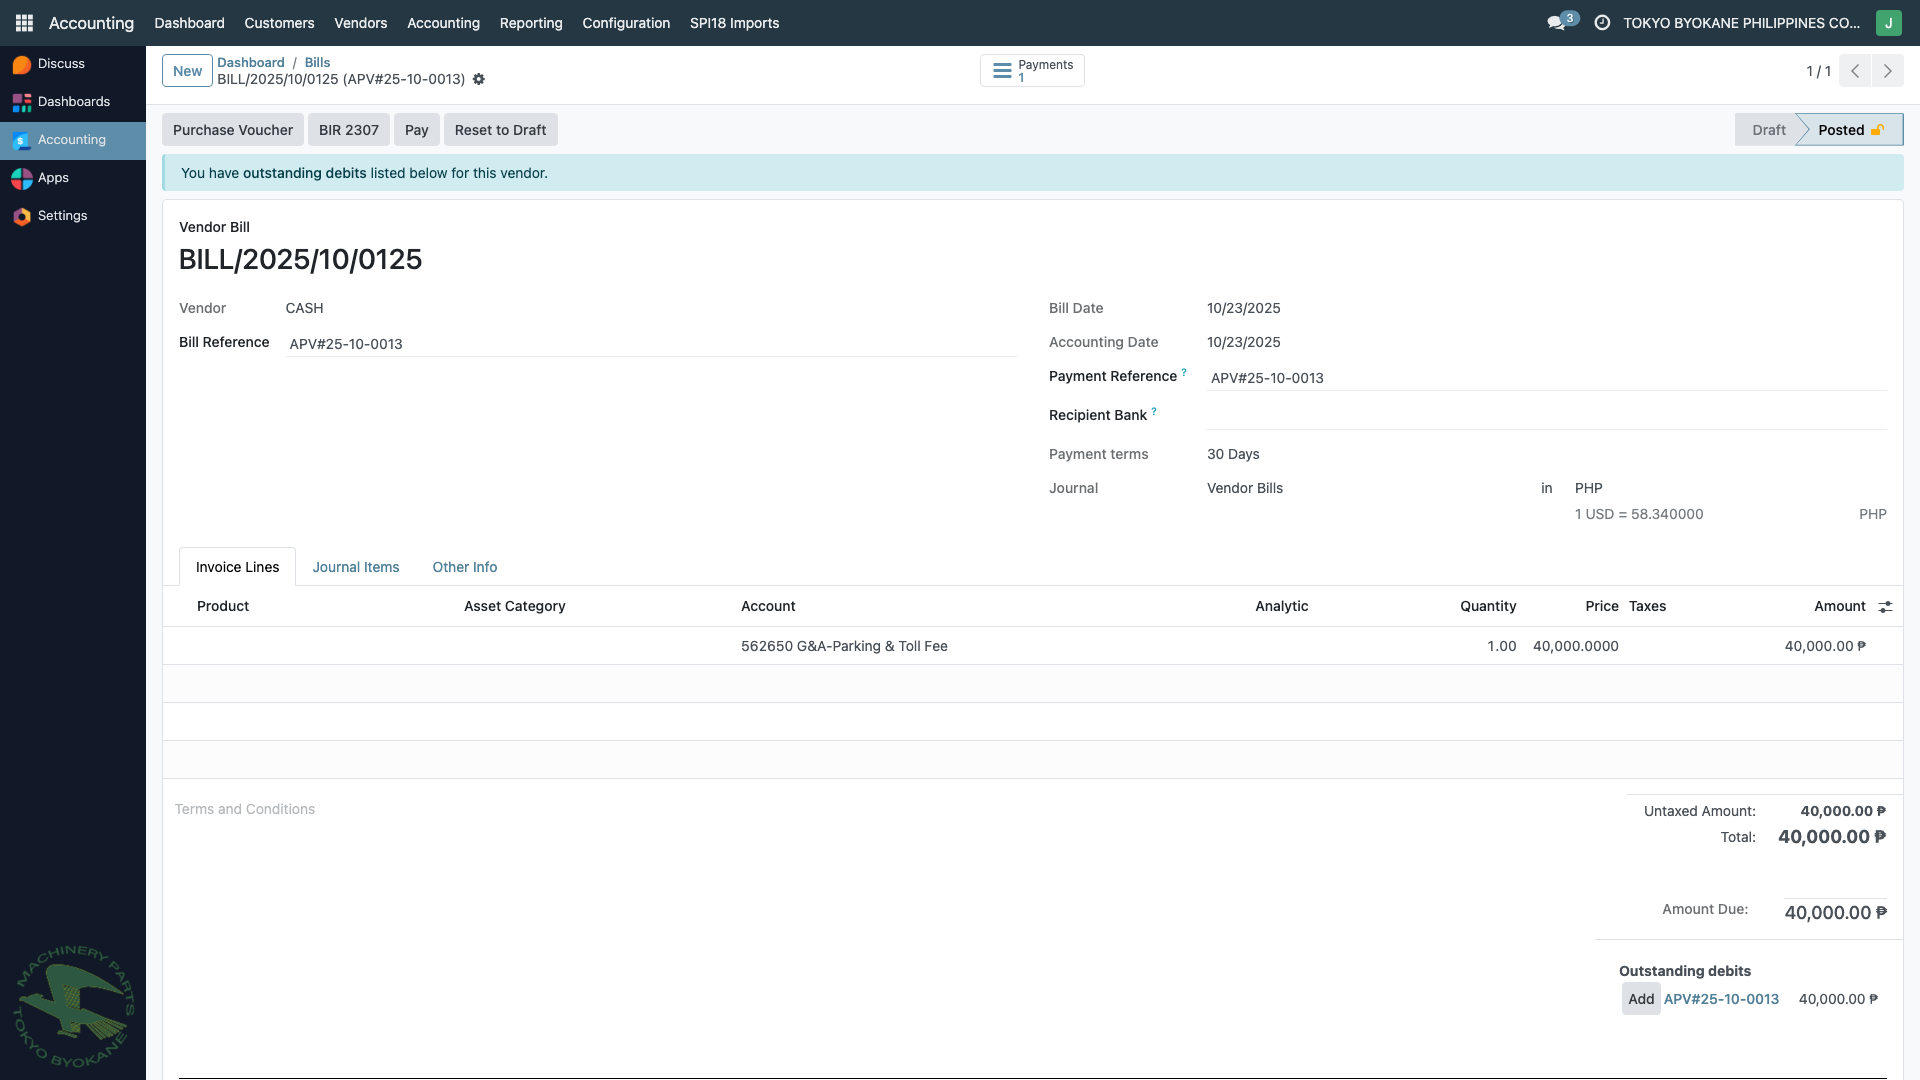
The bill shows:
- Amount Due on the right panel
- Outstanding debits for this vendor warning (if advance payments exist — see Advance Payments)
- Pay button in the action bar
Click "Pay"
Clicking Pay creates a disbursement payment record linked to this bill. The payment form appears:
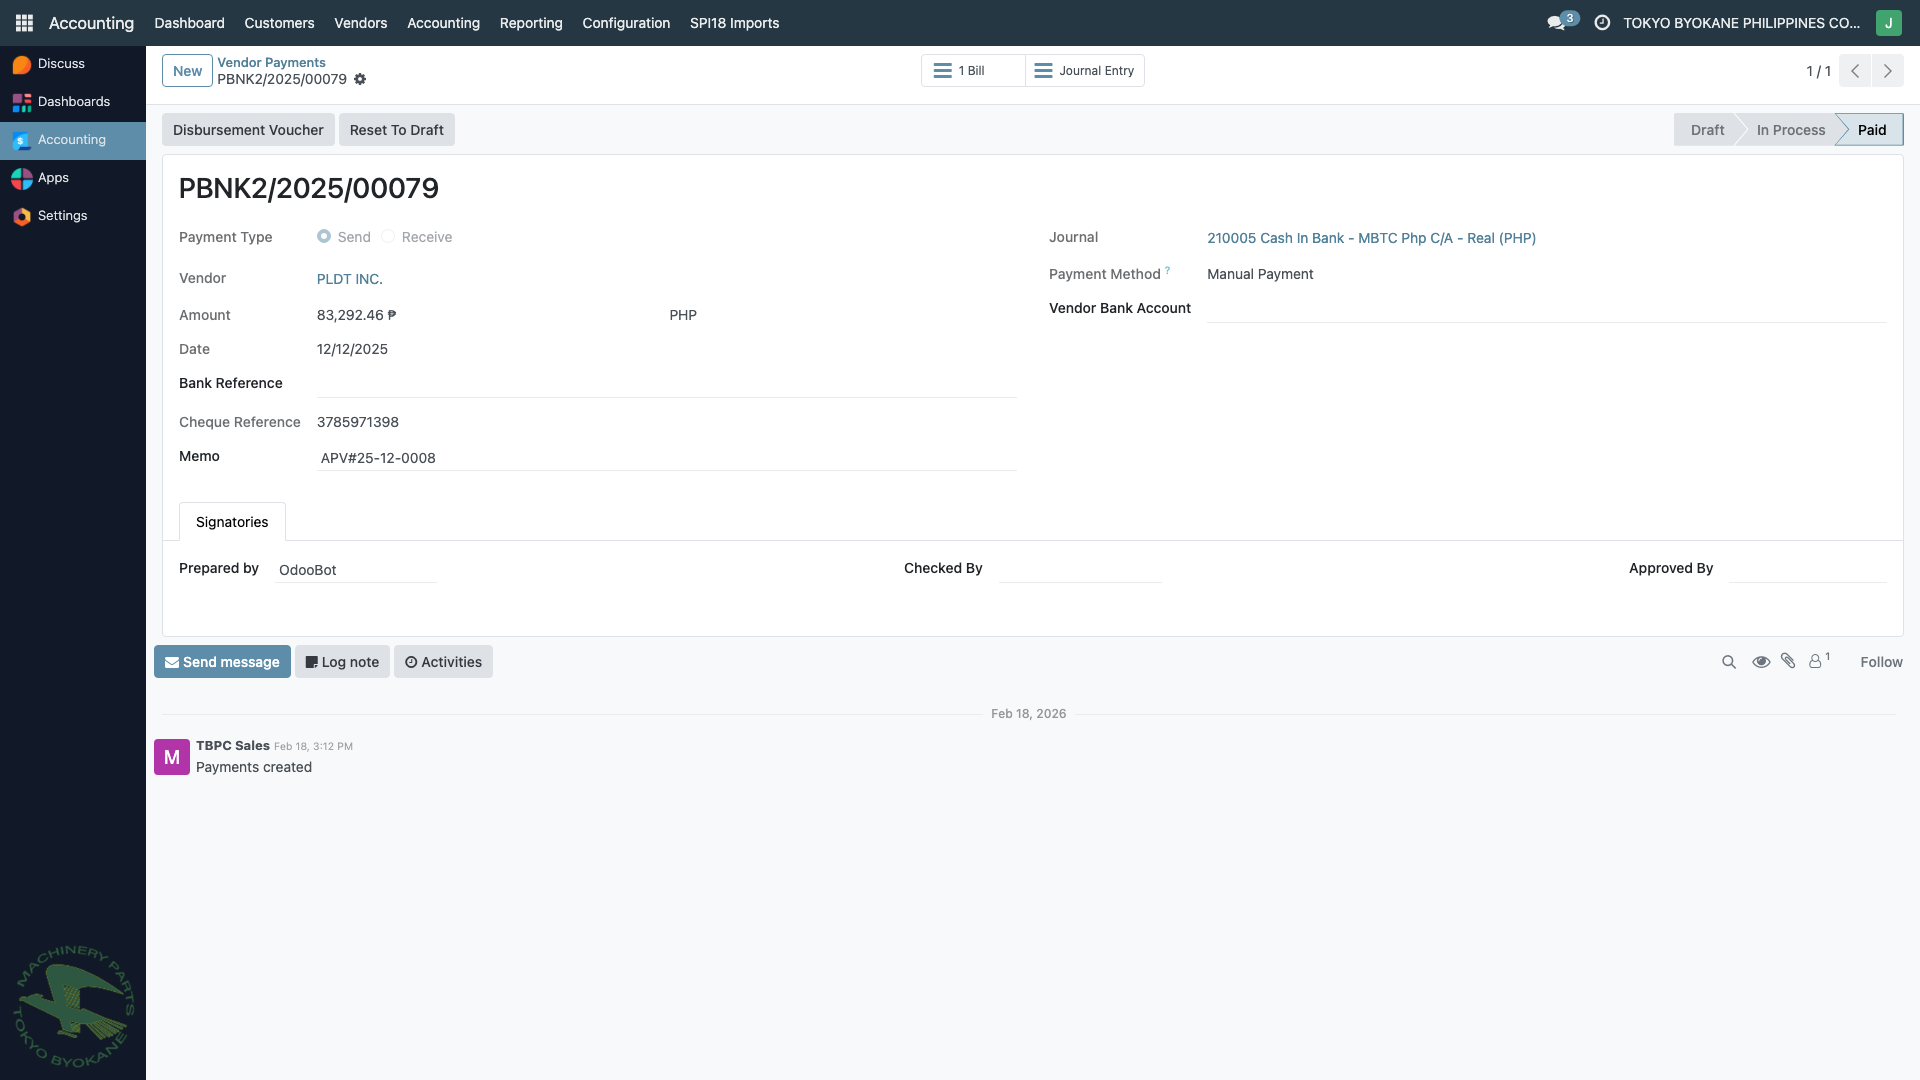
Payment Fields
| Field | What to Enter |
|---|---|
| Vendor | Auto-filled from the bill |
| Amount | Auto-filled with the bill's outstanding balance |
| Date | Date of disbursement |
| Journal | Bank or cash journal (e.g., 210005 Cash In Bank - MBTC Php C/A - Real) |
| Payment Method | Manual Payment (check), Bank Transfer, etc. |
| Cheque Reference | Check number (for check payments) |
| Memo | Payment description or reference |
Approval Workflow
Like bills, payments track:
- Prepared by — who entered the payment
- Checked by — who verified
- Approved by — who authorized the release
Confirm the Payment
Click Confirm to post the payment:
- The payment status changes from Draft to In Process (or Posted)
- Journal entries are automatically created:
- Debit: Accounts Payable (clearing the bill)
- Credit: Bank/Cash (the disbursement journal)
- The payment is automatically reconciled with the original bill
- The bill's payment status changes to Paid
:::tip Automatic Reconciliation When you use the Pay button from a bill, Odoo automatically links the payment to that specific bill. No manual reconciliation is needed. :::
Print the Disbursement Voucher
After the payment is confirmed, click the Disbursement Voucher button:
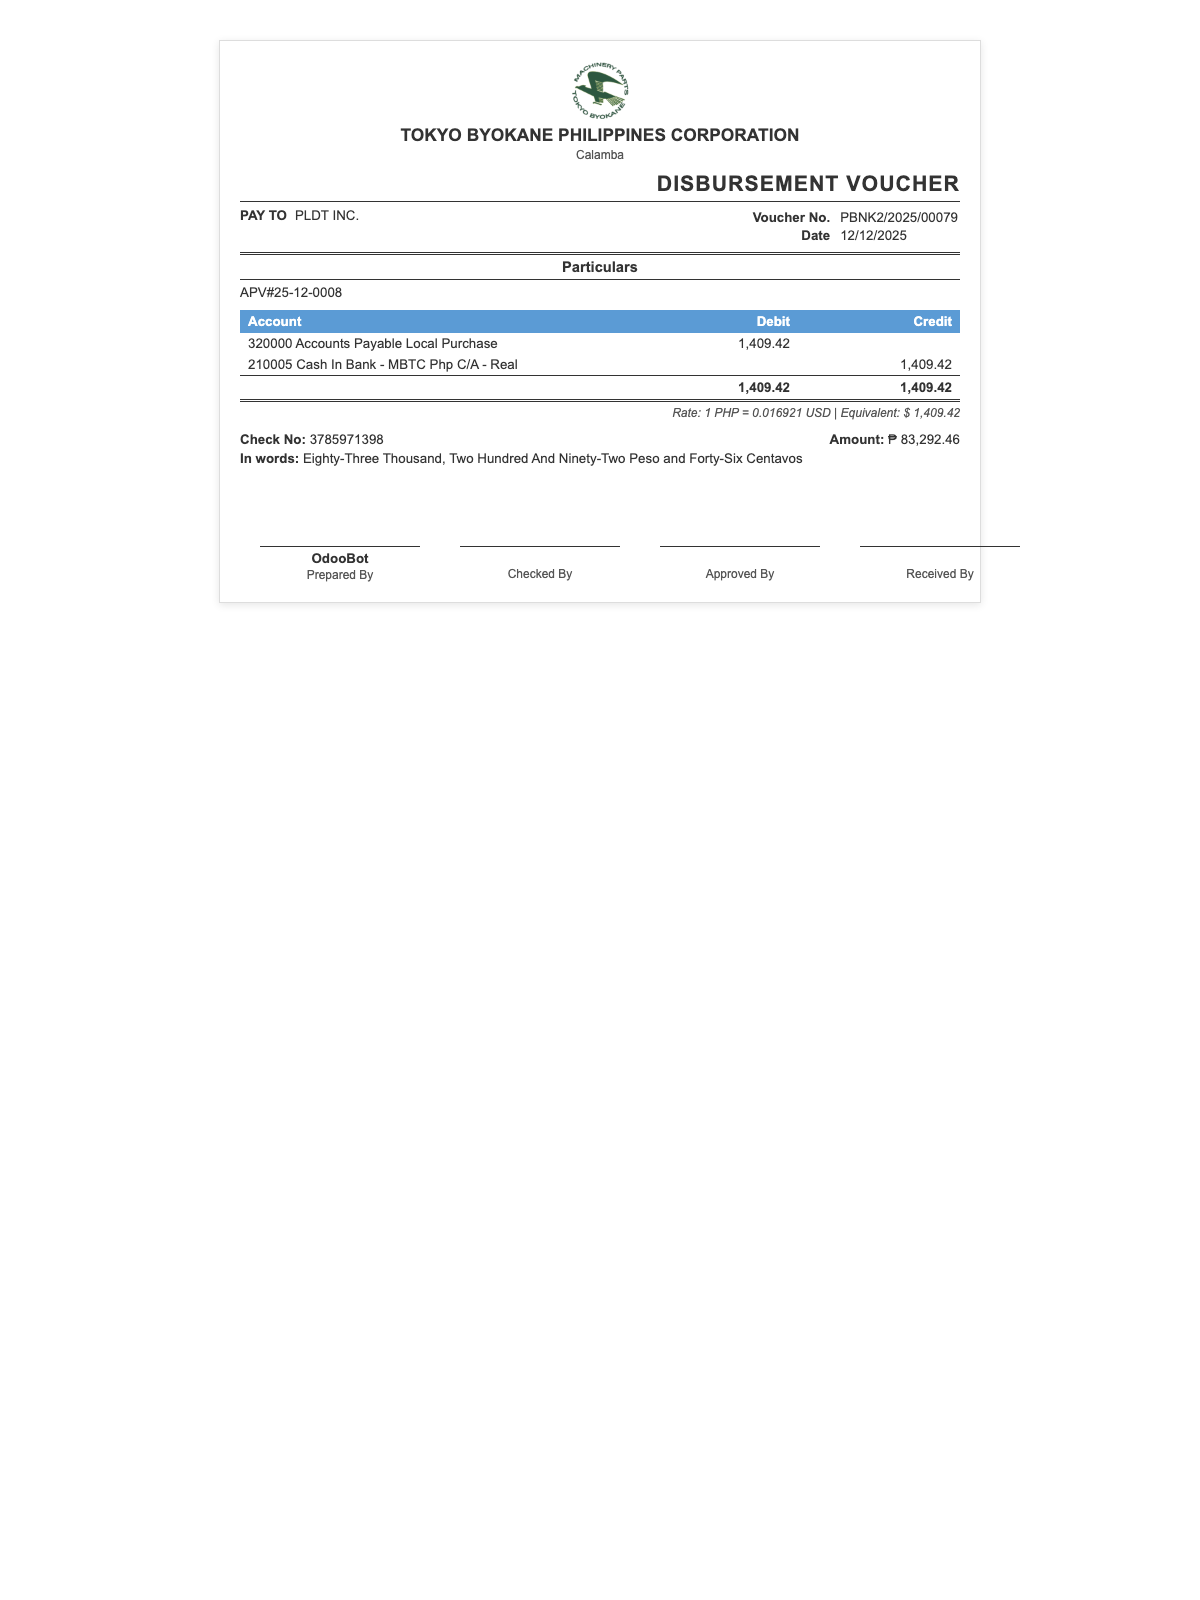
The voucher shows:
- Company header (TOKYO BYOKANE PHILIPPINES CORPORATION)
- Partner (vendor) name and TIN
- Date and reference
- Payment method
- Payment amount (PHP) and USD equivalent
- Exchange rate
- Signatures: Prepared By, Checked By, Approved By
Print via the browser print dialog (Ctrl+P / Cmd+P).
Verifying the Payment
To verify the payment is properly linked:
- Go back to the bill
- The Payment section should now show the linked payment
- The bill status should be Paid (green badge)
- Click the linked payment to drill into the disbursement
Summary
| Step | Action | Result |
|---|---|---|
| 1 | Open posted bill | Bill form shows Amount Due |
| 2 | Click Pay | Payment form opens with prefilled values |
| 3 | Fill journal, date, cheque ref | Ready to confirm |
| 4 | Click Confirm | Payment posts, bill auto-reconciled |
| 5 | Print Disbursement Voucher | Internal approval document |
:::info Full Payment vs Partial Payment By default, the Pay button registers a payment for the full bill amount. To make a partial payment, edit the Amount field before confirming. The bill will show as Partially Paid until the balance is settled with additional payments. :::